Remember when "cut" and "paste" used to
mean using scissors and glue? This tut will help you create a charming little box that you
can cut out and glue together. These boxes are the perfect size for gifts or for display
on a miniature shelf. If you want, you could even hang them on an Easter tree or Christmas
tree. (or any other thing your lil' heart desires.)
My thanks and undying gratitude to Jane for her help in creating this tutorial. Many of the
supplies you need for this tut can be found at her site.
See an example of seven completed boxes ready
for cutting here.
**SPECIAL PRINTING NOTE** If you print from
your browser, the image will fit on a letter-sized paper. If printing from a saved image
in Paint Shop Pro, reduce the size by 70% and sharpen once.
Supplies needed:
PSP6 or PSP7
BladePro (optional)
Eye Candy (optional)
Birdhouse Box Selection
(Get it here. unzip to your Selections folder)
Birdhouse Box
Selection PSP6 or PSP7
Jane's Roof Tiles
(Get them here-unzip to any folder)
Jane's Roof Tiles
Background fills, border tubes
(Find fills here (Jane's tiles-click on the
"Wallpaper fills" link) and here
(wompietiles). Border tubes
here (Jane's tubes coordinate with her background fills)
and here (Jazzl's).)
For the purposes of this tutorial, we'll use this fill and tubes from Jane.
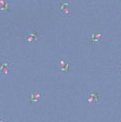
Right-click and save to your own hard drive.
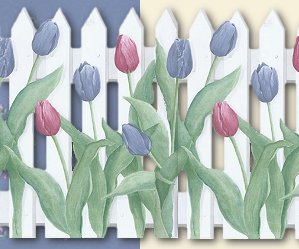
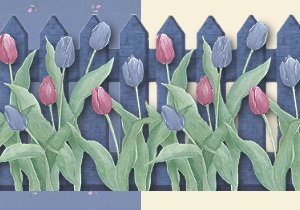
Click on either image to download zipped tube.
Ok, got all your supplies unzipped and
installed? Let's make a birdhouse box!
Follow wompie!
  |