
Lace Edged Hearts Page 2
Open a new image, 300 x 300, transparent background. Flood-fill the image with black to make it easier to see while we work.
*Add a new raster layer.*
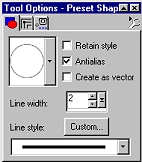
Set your foreground color to #EAE2D0 and your background to null. Using the shapes tool, draw an ellipse using these settings:
*Add a new raster layer.*
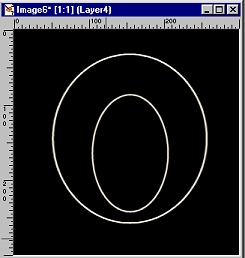
Using the same settings, draw another ellipse just smaller than the one you just drew. Use your mover tool to position it inside the larger ellipse. Your image should now look something like this: (image size reduced for faster loading)
Now, use your Selection tool, Ellipse, to select the bottom portion of the ellipses you just drew.
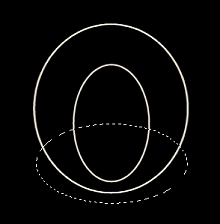
While this is still selected, go back to each ellipse layer and hit the "Delete" key on your keyboard to delete the bottom portion of your lace piece. Go back to the top layer and
*Add a new raster layer.*
Use your shapes tool with the same settings to draw a horizontal ellipse at the bottom of your lace piece. This will be deleted later, it is merely a guide. ( I used my deformation tool to get the ellipse lined up just right.) (You may want to lower the transparency on this layer, also.)
*Add a new raster layer.*
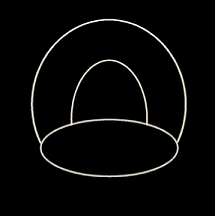
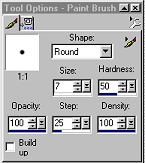
Using your paintbrush tool, make a line of dots along the bottom edge of your lace piece. Use these settings:
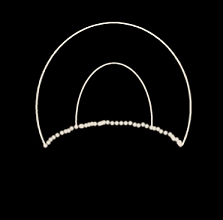
Now, go back to your guideline layer and delete it. (You may need to fill in with more paintbrush dots.) Your image should now look something like this:
*Add a new raster layer.*
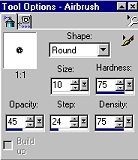
Using your airbrush, paint dots along the middle of the larger arch. Use these settings:
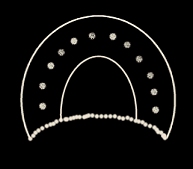
 to paint like this:
Ready for more??