|
Open a new image, 600 x 600, transparent
background.
*Add a new raster layer. Name it "outline."*
Load your wompierecipecard2 selection.
("Selections"..."Load from Disk") Flood fill this
selection with a coordinating color. (I used black.)
*Add a new raster layer. Name it "tube."*
Add your border tube and use your mover tool to place it in position. (I
used the tube provided at 40%.) Copy this layer
("Ctrl"..."C") and paste as a new layer
("Ctrl"..."L") twice. Then move each section of your
border into place beside the previous section. (You may need to zoom in
to do this.)
Open your layer palette and make Layer 1 and the outline layer invisible
by clicking on the little glasses. Make sure one of your tube layers is
selected and merge visible layers.
("Layers"..."Merge"..."Merge Visible")
Sharpen the merged layer once.
("Effects"..."Sharpen"..."Sharpen")
Make your merged layer invisible in your layer palette and select your
outline layer to make it visible again. Use your magic wand, RGB
Value selected, tolerance "15", Feather "0",
"Sample merged" checked and click inside your outline.
Modify your selection. Expand by 3 pixels.
("Selections"..."Modify"..."Expand")
Invert your selection. ("Selections"..."Invert")
Turn the merged tube layer back on and make sure it is selected in the
layer palette. Hit the "delete" key on your keyboard. This
should get rid of any parts of your border that were hanging over the
edge of your card.
Make your tube layer invisible. Select your outline layer. Use your
magic wand, RGB Value selected, tolerance "100", Feather
"0", "Sample merged" checked and click inside
your outline. Modify the selection. Expand by 2 pixels.
("Selections"..."Modify"..."Expand")
*Add a new raster layer. Name it "Fill 1."*
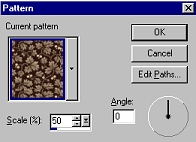
Flood fill with your floral tile or whatever tile you have chosen. I
used these settings:
While it is still selected, modify by contracting by 10 pixels or so.
("Selections"..."Modify"..."Contract") Hit
the "delete" key on your keyboard.
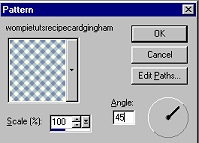
Flood fill with your gingham tile or whatever tile you have chosen. I
used these settings:
While it is still selected, modify by contracting by 3 or 4 pixels
or so.
("Selections"..."Modify"..."Contract") Hit
the "delete" key on your keyboard.
Flood fill again with your floral tile or whatever tile you have chosen
using the same settings as before. While it is still selected, modify by
contracting by 10 pixels or so.
("Selections"..."Modify"..."Contract") Hit
the "delete" key on your keyboard.
Flood fill the remaining selection with a solid coordinating color. Turn
your tube layer back on by clicking the glasses in your Layer Palette.
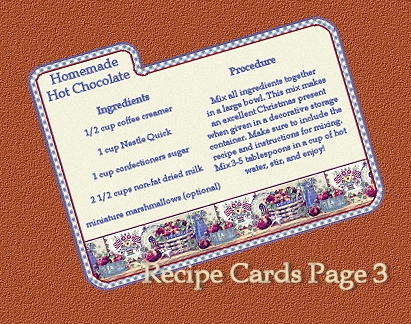
Your card should now look something like this:
(image size reduced for faster loading)

Now let's add our nummy recipe!
Follow wompie!
|