Make sure Layer 4 is active and add three more raster layers. (Open the layer palette, hold the "shift" key and click on the two little pieces of paper in the layers palette.) Make Layer 5 active. Choose a complimentary dark color and add your text to the solid marble rectangle. (I used my color picker and picked #6F5033, a dark brown) Use these settings for your text:
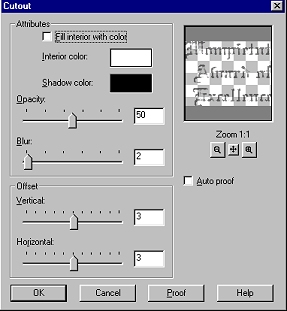
While your text is still selected, make Layer 6 active. Apply a cut-out (image...effects...cutout) using these settings:
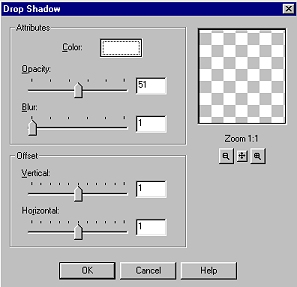
Keep your text selected and make Layer 7 active. Apply a drop-shadow (image...effects...drop-shadow) using these settings:
De-select your text. ("Ctrl"..."D") Isn't that pretty? Now you can crop your image, if necessary. You can also re-visit your image layers and add a drop shadow for depth if you wish. Add a border the same as you did for all of your other images. If you resize, remember to use the sharpen filter. Oh, make sure to go get your award and give yourself a pat on the back. Follow wompie!
|