|
Load
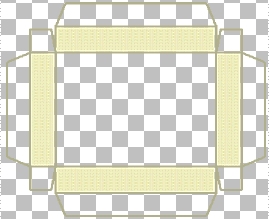
your jewelry box top selection from disk. "Selections"..."Load
from disk" Flood fill the selections with a color or fill of your choice. Your image should now look like this: (size reduced for faster loading)
Go
back to Layer 2. (the layer your selection is in) Use your magic wand to select
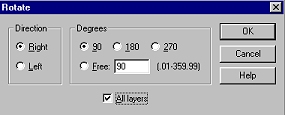
the top of your box top. Open
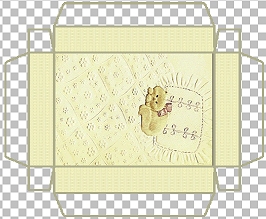
the image you saved from the first page. Rotate the image using these settings: Sharpen once. Copy this image to clipboard. ("Ctrl"..."C") Make sure your jewelry box top image is active and paste into selection. ("Edit"..."Paste"..."Paste into Selection") Your image should now look like this: (image size reduced for faster loading)
Now, let's trim our box with some heart buttons. Follow
wompie! |